J Cole Morrison has this rather lengthy blog post on how to use CloudFoundation to simplify and automate the management of your Amazon AWS cloud infrastructure. AWS CloudFormation is a great tool, but it gets complex real fast with larger setups, so CloudFoundation comes to the rescue.
Tag: deployment
Immutable Deployment @ Quorum
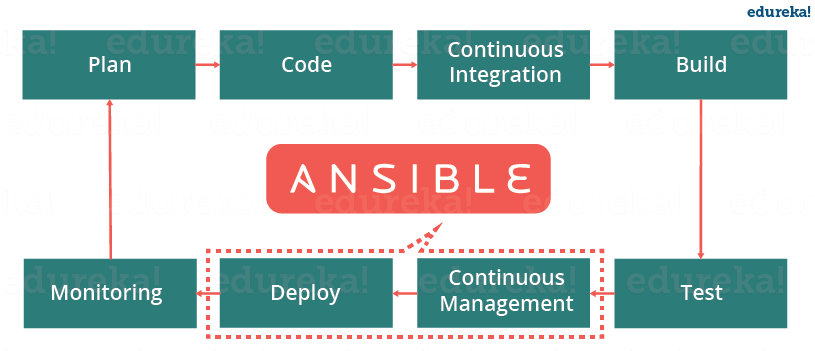
“Immutable Deployment @ Quorum” describes yet another approach to automated, and this case – immutable, deployments. This particular setup is slightly more on the SysAdmin/DevOps side rather than on the development side, utilizing tools like Ansible, Amazon EC2, and Amazon AMI.
If you are building very few projects, or projects with little variations, and use a whole instance for the project, than you should definitely check it out. For those people who work with a zoo of technologies and share the server between several projects, this approach probably won’t work so well. Unless it is adjusted to use containers instead of instances, but even then, it’ll probably won’t be optimal.
Have you tried Composer Scripts? You DO not need Phing.
“Have you tried Composer Scripts? You may not need Phing.” is a nice blog post showing how to use Composer scripts to solve simple build and deployment automation. There’s plenty of good advice in there.
However I have one issue with it. It’s the “You may not need Phing.” part. Irrelevant of your use of Composer scripts, you DON’T need Phing. Phing had its time. It was one of the first build and deployment tools for PHP and it was better than all the alternatives at the time (manual builds, custom shell scripts, or tools from other programming languages).
Those days are long gone and we have better tools now. If you are still using (or even considering using Phing), I beg you to look another way. Check out Deployer. Check out Robo.li. Check other alternatives. Don’t use Phing.
What’s wrong with Phing? Well, I can sum it up in one and one reason only. It’s XML-based. Yeah, that’s right. Phing routes come from Apache Ant, which is a very common build tool for the Java world. And Java world is full of XML.
In the year of 2018, we’ve figured out better ways. Both JSON and YAML are better alternatives to XML for both humans and machines. JSON and YAML are easier to read and generate.
Furthermore, even XML is not the most appropriate format for what Phing is working with. Sure, as long as you can stick with the basic configuration of existing tasks and options – it doesn’t make much difference. But at some point, you’ll need to extend and customize your build and deployment process. And you’ll eventually end up writing PHP code using XML syntax. And trust me, there is no fun in that at all.
Use PHP to write PHP code. Use PHP tools for your PHP projects. We have these now and they are great. At work we are using Robo.li very extensively and it works amazing! You don’t have to use it. Pick whatever works for you. But if Phing works for you, you’re probably doing something wrong.
Oh, and yes, Composer scripts are awesome too. Try them out, if you haven’t already.
Updating WordPress with Composer and WP-CLI
The other day I came across this blog post by Mark Jaquith, who is one of the lead contributors to WordPress, in which he describes his process of updating WordPress plugins with WP-CLI and Git. I think a lot of people these days are trying to use Git for version control and automate their deployments, so WordPress developers aren’t an exception, and Mark’s post is a useful resource for that.
With that said, however, I think there is a better. At work, we’ve been dealing with quite a few WordPress-based projects, and automation of builds and deploys is very important to us. So we’ve taken a different approach.
The initial inspiration for our approach was taken from this blog post by Scott Walkinshaw of the amazing Roots team.
Yes, that’s right, we use Composer to manage the WordPress, plugins and themes, both during the initial installation and the upgrades later. But we’ve taken it a step further by also integrating the WP-CLI to our setup, which you can find in our project-template-wordpress GitHub repository.
I have oversimplified both the development and deployment process below, mostly for clarity. (We do a lot more automation for our needs.)
During the development:
- Configure Composer to install WordPress into the webroot/wp folder.
- Configure Composer to install plugins and themes into webroot/wp-content folder. (Notice: we use a different wp-content folder location from the default WordPress one).
- Adjust wp-config.php for the new paths and drop it into the webroot/ folder.
- Add Composer’s vendor/ folder, and both webroot/wp and webroot/wp-content to .gitignore.
- Add all required themes and plugins to the composer.json.
- Run composer update to create or update the composer.lock file.
- Commit both composer.json and composer.lock, as well as .gitignore and any other files you modified.
- Add a WP-CLI script that automates activation of plugins and sets the current theme.
- Push your changes to the git repository.
During the deployment:
- Clone or pull the changes from the git repository.
- Run composer install to fetch and install specific versions of WordPress, plugins, and themes, from the composer.lock file.
- Run the WP-CLI script to finalize the installation or update with the plugin activation, theme selection, etc.
While it might look a little bit more complicated than what Mark and Scott described in their respective blog posts, I think this is a better approach for the following reasons:
- Use a specialized tool to solve each problem. Git is great for version control, so that’s what it should do. Composer is great for managing dependencies, and that’s what WordPress and its themes and plugins are for your project. WP-CLI is great for automating WordPress tasks.
- Keep the git repository clean and simple. When working on a project, we never ever modify the code of the WordPress or any of its themes or plugins. And our setup enforces this approach. If you need to change the WordPress source code for a particular project, you are probably doing something wrong. If you need to change the plugin’s source code or the theme’s source code, you are probably doing something wrong again. Instead create child theme or your own version of the plugin and install those with Composer, keeping the plugin or theme related code changes in a separate repository.
- Easily extendable and customizeable. Git, composer, and WP-CLI are great tools and we love using them. But the world is moving forward and there are constantly more and better tools to help with the complexities of the web development. Our setup expands and extends to welcome any tools that we find useful. For example, we have integrated with Robo, PHPUnit and PHP Code Sniffer, TravisCI, BitBucket Pipelines, and many other tools over time. We’ve also said good bye to a few that became obsolete or to which we found better alternatives.
Anyways, project-template-wordpress works quite well for us and I hope you’ll find it useful. Give it a try and let us know if you find any issues or improvements. Pull Requests are welcome. :)
hack {cyprus} summit 2017
Last week I’ve attended the first ever hack {cyprus } summit. hack {cyprus} is well known among techies in Cyprus for organizing other events, mostly hackatons. They are good at that. And this time it was something new.
The event itself was excellent! It had all the usual things you’d expect from such a gathering – a bunch of bearded guys in dark t-shirts and jeans (each one secretly wishing that there were more women in tech), gadgets, coffee, snacks, and so on and so on. And there were talks and workshops with lots of chatter in between.
Being a big fan and a frequent attendee of technical conferences all over Europe, I knew there was no chance I’d miss this one in Cyprus. Even if I have to drive from Limassol to Nicosia. In fact, I decided I’ll get even more value of it – practice my public speaking and presentation skills at the expense of the crowd. So when the call for talks was announced, I submitted a couple of talks and one was picked.
There was a little hickup where I didn’t know the time slot of the talk (how long it would be), so I submitted two talks – one for 30 minutes or so, and one for 60 minutes. The 60 minute one got chosen, and then I learned that the time I have is 20 minutes for the talk and 10 minutes for the Q&A. Oopsy. But, never the less, challenge accepted. It took a lot of cutting and trimming but I think I sort of managed to get the essence of it into about 20 slides. My talk wasn’t the first one of the day, so I observed other speakers. I think most of them went slightly over 20 minutes and cut into the Q&A time, but on the other hand, there weren’t enough questions for most of the talks to fill all that time. So in the end, it all worked out pretty well. If I remember correctly, I managed to squeeze my talk into about 25 minutes altogether. I’d love to see the video of that – there’s plenty of mistakes to learn from there, but for now, there are only the slides.
I would like to say huge thank you to everybody involved – organizers, sponsors, speakers, and attendees. It was a blast and I hope to attend many more.