Install Postman on Fedora 31

Postman is a great tool for building and testing APIs. Unfortunately, however, it doesn’t come packaged as an RPM, so there’s some trickery involved in installing it on Fedora.

This blog post was very useful, with some minor corrections. Here’s what I had to do:

  • Download Postman from the site.
  • Move the archive to somewhere global: mv Postman-linux-x64-7.16.1.tar.gz /opt/
  • Extract the archive: tar xzvf Postman-linux-x64-7.16.1.tar.gz
  • Remove the archive: rm Postman-linux-x64-7.16.1.tar.gz
  • Check which directories are in the path: echo $PATH
  • Create a symbolic link in one of path directories: sudo ln -s /opt/Postman/Postman /usr/local/bin/postman
  • Create the desktop file: touch ~/.local/share/applications/postman.desktop
  • Edit the file with the content below.
[Desktop Entry]
Name=Postman
GenericName=API Client
X-GNOME-FullName=Postman API Client
Comment=Make and view REST API calls and responses
Keywords=api;
Exec=/usr/local/bin/postman
Terminal=false
Type=Application
Icon=/opt/Postman/app/resources/app/assets/icon.png
Categories=Development;Utilities;

Now you can run Postman both via the command line (postman) and from the Gnome/Mate menu. You’ll find it under Applications->Programming.

Fedora 31: Docker Fix

I’ve updated my laptop to Fedora 31 over the Christmas holidays. Pretty much everything works as it did before. Except for Docker, which suddenly fails to start the service.

A quick Google search pointed to the discussion in this bug report, where I found the solution that worked for me:

  1. Edit /etc/sysconfig/grub
  2. Append systemd.unified_cgroup_hierarchy=0 to the GRUB_CMDLINE_LINUX variable
  3. Run “grub2-mkconfig -o /boot/efi/EFI/fedora/grub.cfg
  4. Reboot

Once the machine came back up, docker service was running normally.

Fedora 30

Fedora 30 has been released a few days ago. In the long list of changes, the most interesting to me are:

I’ve already upgraded my laptop to this version and everything seems to work as expected. The upgrade from Fedora 29 to Fedora 30 is easy:

# Install all the latest updates
dnf upgrade --refresh

# Install DNF plugin for system upgrades
dnf install dnf-plugin-system-upgrade

# Download all the necessary packages for Fedora 30
dnf system-upgrade download --releasever=30

# Reboot and start the upgrade of packages
dnf system-upgrade reboot

# Cleanup after successful upgrade
dnf system-upgrade clean

If this is not your first upgrade on the machine, it might also be a good idea to cleanup some of the installed packages BEFORE the upgrade, so that the process goes faster, skipping unnecessary downloads and upgrades. Here are a few suggestions:

# List all installed RPMs by size
rpm -qa --queryformat '%{size} %{name}\n' | sort -rn | less

# List all packages from earlier Fedora releases
rpm -qa | grep -i fc28

How to disable IPv6 on CentOS / RHEL 7

Sometimes I miss the good old days …

Recently, I had an issue with one of the servers, where a bunch of services were attaching to IPv6 ports instead of the IPv4 ones. Rather than editing the configuration of each of these services, I wanted to simply disabled IPv6 on the machine.

In the old good days, things like these were easily done via the sysctl. I surely tried that option too, but it wasn’t enough. Turns out, the proper way these days is to do this via Grub, as per this blog post:

  1. Vim /etc/default/grub file
  2. Change: GRUB_CMDLINE_LINUX=”ipv6.disable=1 crashkernel=auto rhgb quiet”
  3. Regenerate and overwrite Grub config with: grub2-mkconfig -o /boot/grub2/grub.cfg
  4. Reboot.

That sounds a bit too excessive. But then again a reboot is also required for the proper disabling of SELinux, so I guess its’ fine.

Fedora Linux : Change user icon in GDM login

In general, I’m pretty happy with my desktop setup. I use MATE with i3 on my Fedora Linux laptop for quite some time now, and it works well.

However, there was one annoying tidbit that I decided to fix today – my user icon on the login screen. I remember that I used to have it at some point, but it disappeared during some upgrade a few month ago.

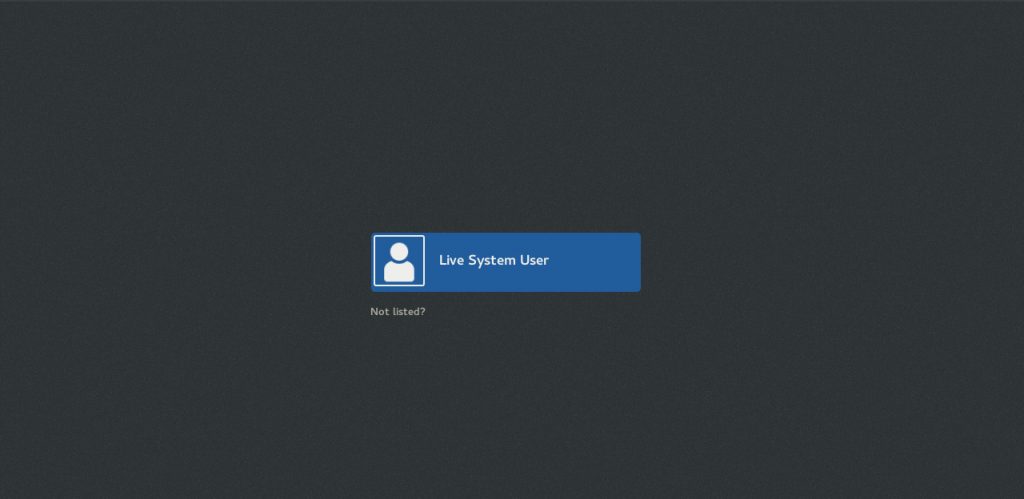
The login screen is managed by Gnome Display Manager (GDM). In previous versions, you could easily customize the user icon via either some GUI tools for users and groups, or by simply dropping your icon into ~/.face file, in, preferably, PNG format, and GDM would pick it up just fine. Turns out, not anymore.

It took me a few Google searches to find the solution, so I’m sharing it here (just replace ‘leonid’ everywhere with your own username):

# Copy the user icon file
sudo cp /home/leonid/.face /usr/share/pixaps/faces/leonid.png
# Edit user settings file and add the following line:
# Icon=/usr/share/pixaps/faces/leonid.png
sudo vim /var/lib/AccountsService/users/leonid
# Logging out is not enough, so just ...
reboot

Once your system restarts, you should see the proper user icon on the login screen.