Accurate Instagram Filters Reconstruction

homm/color-filters-reconstruction is a GitHub repository with a number of tools that help to automatically or semi-automatically deconstruct the color filters applied to a picture by such services as Instagram, Google Photos, and others.

Here’s how it works:

This method is based on three-dimensional lookup tables and their two-dimensional representation: hald images. The core idea is simple: a sample hald image with a uniform color distribution is processed using a target color filter with an unknown transformation algorithm. The processed hald image can then be used as a filter for a very accurate approximation of that target color transformation.

A resulting hald image could then be used in various software such as GraphicsMagick or Adobe Photoshop. You can implement those hald images in your iOS or macOS app with CocoaLUT. Also, hald images could be converted to the 3D LUT cube file format, which is common in a great number of video editing software.
idg – document image generator

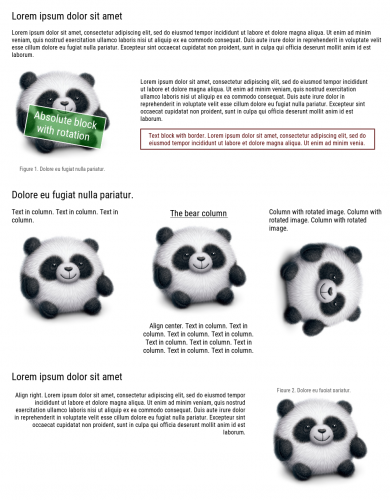
idg is a very handy tool for programmatically generating images which look like documents and web page templates.  It’s built on top of the ImageMagick and will come native to anyone familiar with the  modern grid-based web design.

Easily optimize images using PHP

Via this blog post I came across this PHP image optimization library, which somewhat reminds me of this blog post from a couple of years ago.  As good as ImageMagick is, it takes time and effort to find all the right options.  With Spatie Image Optimizer you have an almost out of the box solution for optimizing images in a variety of formats.

This package can optimize PNGs, JPGs, SVGs and GIFs by running them through a chain of various image optimization tools.

Efficient Image Resizing With ImageMagick

ImageMagick is one of my favorite tools ever.  I’ve used for years for a whole lot of different things – from simple image resizing, through animation generation, to palette manipulation.  And still, I don’t really know it that well, so when I see articles like this – “Efficient Image Resizing With ImageMagick“, I get excited.  Not only it gives you a better way of doing things, but it also explains the path of how to get there.  From a simple command like:

convert input.jpg -resize 300 output.jpg

to something as advanced as this:

mogrify \
  -path OUTPUT_PATH \
  -filter Triangle \
  -define filter:support=2 \
  -thumbnail OUTPUT_WIDTH \
  -unsharp 0.25x0.25+8+0.065 \
  -dither None \
  -posterize 136 \
  -quality 82 \
  -define jpeg:fancy-upsampling=off \
  -define png:compression-filter=5 \
  -define png:compression-level=9 \
  -define png:compression-strategy=1 \
  -define png:exclude-chunk=all \
  -interlace none \
  -colorspace sRGB \
  -strip INPUT_PATH

What’s even more exciting is that it looks like this optimization will make its way into WordPress 4.4, together with some other improvements for the responsive images.

Super cool!