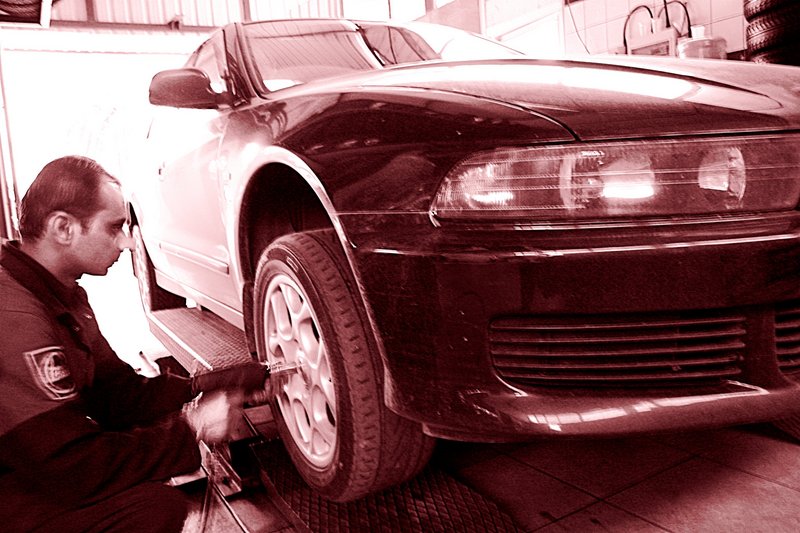
Passing by the tire care today was an excellent chance to shoot a few pictures. That, and the fact that I found a new way (at least for me) to make black-and-white toned images in Gimp, pushed me into some experimentation.
If you are interested in the Gimp trick that I’ve learned it goes like this: open the file with you picture, do all the usual stuff like unsharpening mask, leveling, etc. Than go to Filters. When there select Colors. Than Decompose. RGB woks fine. Make sure though that every channel will become a layer (there is a checkbox on the bottom of the form). You’ll get a new image with three layers, one for each color (red, green, blue). Play with layers, overlaying, and all that stuff. When you are done, press Ctrl+M. This is for “Merge visible layers”. This operation will combine all your layers into a single layer. Now go to Image menu and Flatten image. Now you will be able to change image mode from Greyscale (which was set by Gimp when creating this image) to RGB. This function is in Image menu, under Mode. Just click on RGB. From this point on Gimp will think that your image is colored, although it is black and white. Now you can adjust the color balance which will tone your image. To do so, go the Layers menu and select Colors option. There you will see the Color balance. Play with the scroll bars for different tones until you get the desired effect.
That’s all folks!
Album location: /photos/2005/2005-02-18_POTD